Cable holes are a common source of air leaks and energy loss in buildings and machinery. Unsealed penetrations allow drafts, moisture, pests, and dust to enter, compromising performance and efficiency.
This guide will walk you through how to choose an appropriate sealant and apply it correctly to walls, ceilings, and floors. We’ll also cover cable entry systems like plates, grommets, and glands to neatly organize and seal around wires and conduit.
How to Seal Cable Holes
Step 1: Choose the Right Sealant
In Walls: Use a fire-rated, intumescent caulk or putty for gaps around cables in fire-rated walls. This expands when exposed to heat, maintaining the fire resistance. For non-fire-rated walls, silicone caulk provides a flexible, weather-resistant seal.
In Ceilings: Fire caulk is required for holes in fire-rated ceilings. Low-VOC latex caulk is suitable for other ceiling holes, as it resists cracking and is paintable.
In Floors: Floor cable holes require a durable sealant like polyurethane. It withstands foot traffic and is moisture-resistant, ideal for sealing holes in wood, concrete or tile.
Step 2: Create a Drip Loop (for exterior walls) (Optional)
When sealing cable holes in exterior walls, create a drip loop before applying sealant. A drip loop is a U-shaped bend in the cable just before it enters the wall. This allows any water running down the cable to drip off at the low point of the loop instead of entering the building. Secure the loop with cable staples if needed.
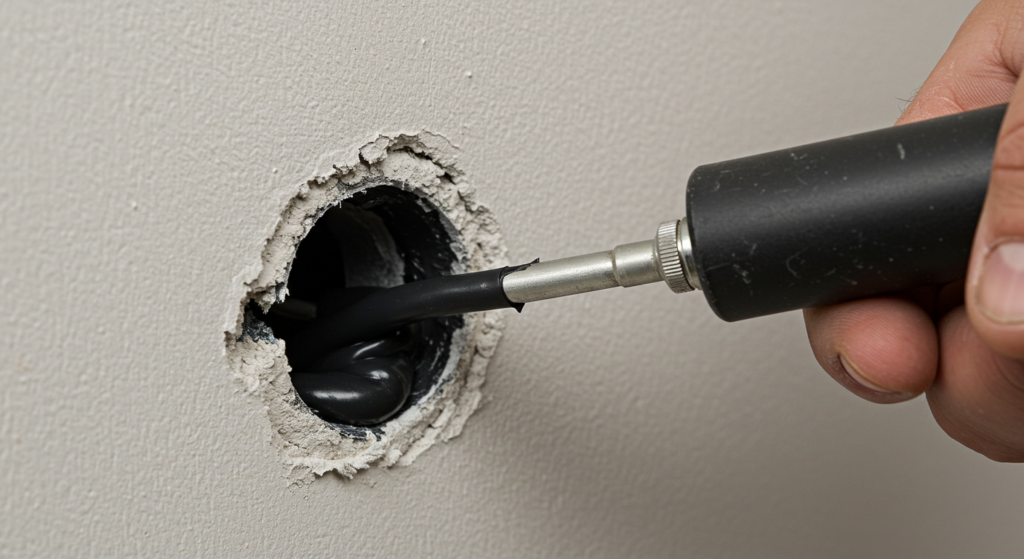
Step 3: Apply the Sealant
Prepare the area by removing any old caulk, dirt and debris. Cut the nozzle of the sealant tube at a 45-degree angle sized for the gap width.
Using a caulk gun, apply the sealant around the cables, filling the hole completely. Smooth it with a caulk tool or gloved finger, creating a slight concave shape to prevent water pooling.
For large holes, pack in some backing rod first before applying sealant. This saves on sealant and provides a stable base.
Step 4: Allow to Dry
Let the sealant dry and cure fully according to the product instructions. Most silicone and latex caulks are tack-free in an hour but take 24 hours to fully cure. Do not disturb the cables until the sealant has cured.
Step 5: Finish
After the sealant has dried, you may paint or finish over it if desired and the product allows. Fire caulk must remain exposed to function properly. Perform any final cleanup and remove masking tape or other protective materials.
Cable Entry Systems
In addition to sealing individual cable holes, cable entry systems provide a convenient way to bundle and seal multiple cables. Options include:
Cable Entry Plates/Boxes
Cable entry plates or boxes mount to the wall, floor or ceiling, allowing cables to pass through while sealing out air, moisture and pests. Made of metal or plastic, they have rubber or foam gaskets that fit snugly around the cables.
Cable Entry Grommets
Grommets are rubber or plastic rings that fit into cable holes, with flexible flaps or brushes that conform around the cables to block gaps. They allow cables to be easily added or removed. Split grommets can be installed around existing cables without having to disconnect them.
Cable Glands
Cable glands, also known as cable connectors, attach to a threaded or knockout hole in an enclosure, providing a sealed cable entry. They have a nut that compresses a rubber seal around the cable. Types include:
Metal Glands: Rugged threaded glands made of brass, stainless steel or aluminum. They provide excellent pull-out strength, impact resistance and EMI shielding. Ideal for harsh environments.
Synthetic Glands: Made of nylon or plastic, these are lightweight, corrosion-resistant and non-conductive. They are used in applications that don’t require the strength of metal.
Splittable Glands: Allow installation around terminated cables. The gland splits in half to fit around the cable, then locks back together. Available in metal or synthetic materials.
Cord Grips Cord grips, also known as gland cable fittings or cable glands, are mechanical devices designed to attach and secure the end of an electrical cable to equipment. These robust components provide a secure entry point for cables entering enclosures, panels, or junction boxes while offering comprehensive protection against environmental factors and mechanical stress. […]
What is a Cord Grip A cord grip is a mechanical device designed to secure, strain-relieve, and seal cables or wires as they enter electrical enclosures, equipment, or junction boxes. These essential components provide protection at cable entry points while maintaining the integrity of electrical connections. Often referred to as cable glands in some regions, […]
What is Cable Gland Thread A Cable Gland Thread is the engineered spiral ridge system machined onto cable glands that creates the critical connection point between cables and electrical enclosures. According to the International Cable Protection Committee, improper thread selection accounts for 32% of all cable entry failures in industrial settings. These precision-engineered threads serve […]