Improper cable gland installation can lead to damaged cables, water ingress, and safety hazards.
Without following the correct steps, you risk costly downtime, electrical faults, and non-compliance with regulations.
By learning this simple 5-step process to properly prepare the cable, insert it, secure the gland, and verify the installation, you’ll ensure a safe, reliable, and regulation-compliant setup every time.
Step 1: Prepare the Cable
Before installing a cable gland, ensure the cable is properly prepared:
Strip the cable sheath to the appropriate length per the gland manufacturer’s specifications. This exposes the inner conductors or cores.
If applicable, strip the insulation from the individual conductors to the specified length for termination.
For armored or shielded cables, cut back and trim the armor or shield according to the gland requirements. Ensure no sharp edges remain that could damage the gland seal.
Clean the exposed cable components to remove any dirt, oil, or debris that could interfere with a proper seal.
Step 2: Insert the Cable
With the cable prepared, insert it through the cable gland components:
Disassemble the cable gland, which typically includes the entry component, sealing ring, compression ring, and back nut. Lay out the parts in order of assembly.
Slide the cable through the entry component, ensuring it fits snugly in the aperture. The cable sheath should protrude slightly into the enclosure or junction box.
Place the sealing ring and compression ring over the cable sheath, pushing them flush against the entry component.
Slide on the back nut, threading it loosely onto the entry component. Do not tighten fully yet.
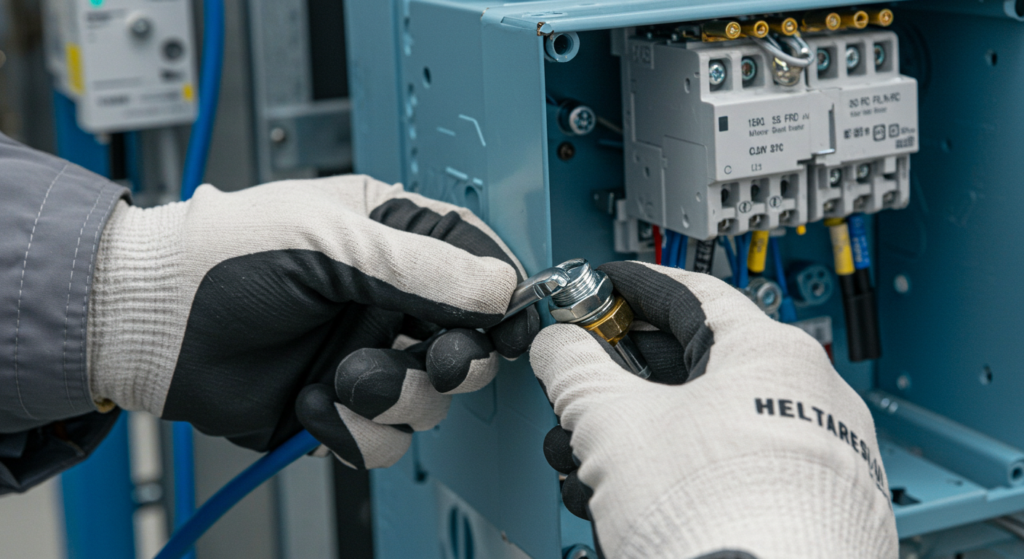
Step 3: Secure the Gland
Once the cable is inserted, secure the gland to seal around the cable sheath:
While holding the cable in position, tighten the back nut onto the entry component using a wrench. Refer to the manufacturer’s torque specifications to avoid under- or over-tightening.
As the back nut is tightened, the compression ring squeezes the sealing ring, causing it to seal around the cable sheath and against the entry component.
Continue tightening until the gland is fully secured and an IP-rated seal is achieved between the cable and the gland.
Ensure the cable armor or shield, if present, is properly seated and in contact with the gland for electrical continuity.
Step 4: Apply Thread Sealant (Optional)
For added protection in demanding environments, apply thread sealant to the gland-to-enclosure connection:
Select a thread sealant compatible with the gland material and application, such as PTFE tape or pipe dope.
Apply the sealant to the threads of the gland’s entry component, following the product instructions for application method and coverage.
Screw the gland into the enclosure or junction box, tightening to the specified torque. The thread sealant helps achieve an IP-rated seal between the gland and the enclosure.
Step 5: Verify the Installation
Finally, verify the gland installation to ensure proper sealing and strain relief:
Visually inspect the gland to confirm it is properly tightened and seated against the enclosure.
Check that the cable sheath is securely gripped by the sealing ring and that no gaps are visible.
Gently tug on the cable to verify the gland provides effective strain relief and prevents the cable from slipping or twisting.
If applicable, ensure any cable armor or shielding is properly bonded to the gland for electrical continuity.
Cord Grips Cord grips, also known as gland cable fittings or cable glands, are mechanical devices designed to attach and secure the end of an electrical cable to equipment. These robust components provide a secure entry point for cables entering enclosures, panels, or junction boxes while offering comprehensive protection against environmental factors and mechanical stress. […]
What is a Cord Grip A cord grip is a mechanical device designed to secure, strain-relieve, and seal cables or wires as they enter electrical enclosures, equipment, or junction boxes. These essential components provide protection at cable entry points while maintaining the integrity of electrical connections. Often referred to as cable glands in some regions, […]
What is Cable Gland Thread A Cable Gland Thread is the engineered spiral ridge system machined onto cable glands that creates the critical connection point between cables and electrical enclosures. According to the International Cable Protection Committee, improper thread selection accounts for 32% of all cable entry failures in industrial settings. These precision-engineered threads serve […]